Monday, October 1, 2012

Costume Design - Sweeney Todd

In a previous post I shared some designs I did in costume design class in college. In continuing with that here are some other designs I've done.

In this portion of the class they had a graduate student come in as the director. They picked out a play and we worked with them just like a costume designer would. We discussed their vision and how they wanted the show to look.

This is 'Sweeney Todd: the Demon Barber of Fleet Street':
Sweeney

Mrs. Lovett

Judge Turpin
 
Johanna

Anthony

Tobias

Beggar Woman
I had a lot of fun making the clothes look dingy. I added ink to the watercolors and it was awesome.

I tried to tie all the costumes together with a hint of red (to reference the bloodiness of the show).


Wednesday, September 26, 2012

Decorated Pointe Shoes - Halloween Edition

One of my favorite projects that I've done are my decorated pointe shoes. They turned out really cool, but I've never really done another pair. I've started a couple, but never actually got very far. I did dye an actual pair for a costume in Chicago - Hunyak's circus costume was a silver tutu bit (seen here) and the actress was a ballerina so I dyed her pointe shoes silver.

For some reason I was suddenly compelled to do a Halloween version of decorated shoes. I love Halloween - as you may be able to tell from my multitudinous zombie posts. So I pulled out my RIT dyes and acrylic paints and here's what I did:

I think they are Griskos

I got a brand new pair of pointe shoes on eBay for cheap (didn't care about the size so I just went by price). I bent the shank a little to make them look less stiff and I took out the drawstring since it won't be needed. 

Dyes packets and mixed dyes

When I dye pointe shoes I take a little bit of dye, add water and paint it on like a water color. I try not to do too many coats at one time because the water will soften the resin that is keeping the shape of the box. Above are the colors I used: Black, Pearl Grey, and Navy Blue. I started off with just pearl grey.

One coat of Pearl Grey

Then I added some Navy Blue to the Pearl Grey mix (I just made the connection to Earl Grey - lol). I did a separate batch of Black for some gradation (below). I did several "coats" letting the shoes dry in between.

After several coats

I also used the Pearl Grey/Navy Blue mix to dye the inside. I may end up replacing the insole with something sturdier, which is what I did on my first pair.

Dyeing the Inside

Here's a close up of some of the gradient black. I think it gives it a very "halloween" look.

Closeup

Then (after letting the dye dry completely) I just used some acrylic paint to paint some creepy scenes on the box of the shoe.

Tree with headstone and Bats
Witch crossing the moon
Spiderwebs

The spiderwebs aren't my favorite. The box is much easier to paint that the softer parts of the shoe.

Ghosts and Bats

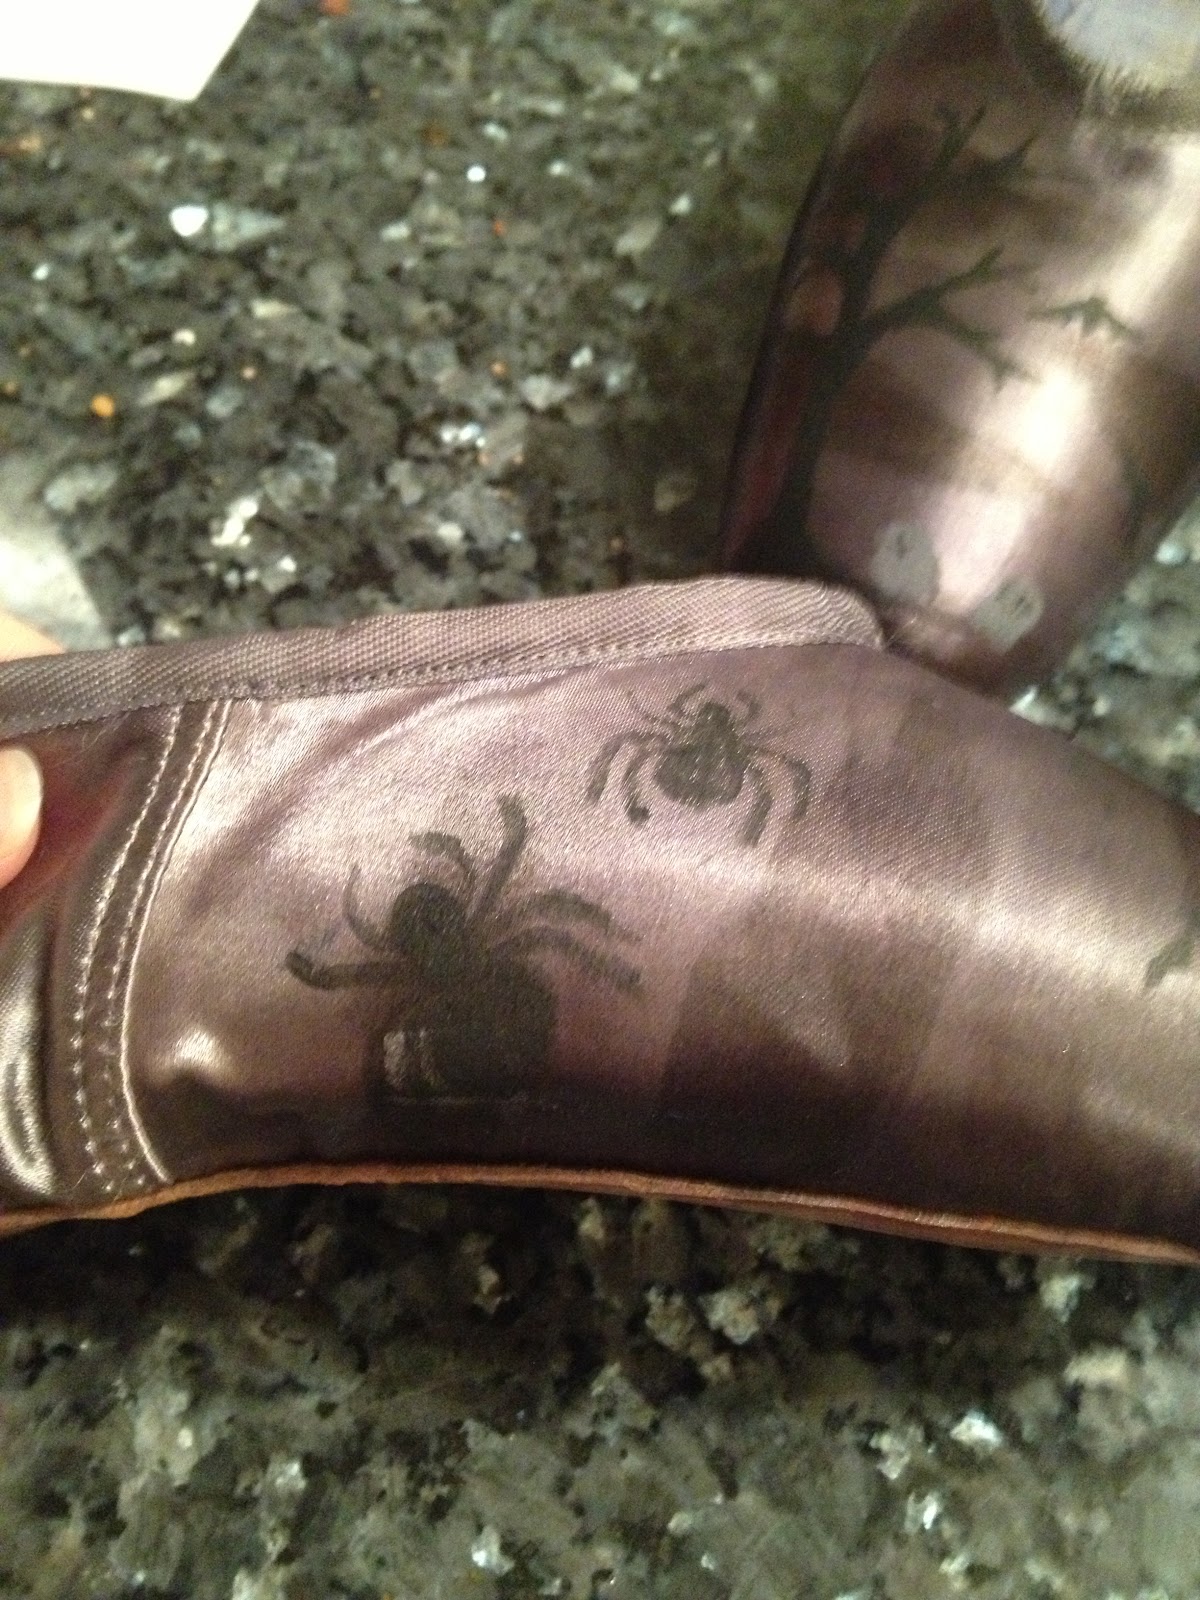
Spiders!

I need to do more to decorate the back half of the shoe, but I'm not sure what I want to do yet. I don't want to do scenic work like on the box, so I might go check out the Halloween section at Ben Franklin and see what they have.

I'll post an update when I've done more!!

Saturday, September 15, 2012

Count Louis LeStat Wafflebuns

You may remember a couple years ago I created a little lamb for a friend: Pete T Sheep. He went traveling with me to Egypt and a couple other places. He also travelled with some other people when they went to far off places. So when I was about to set forth on a three week trip to England, Scotland and Ireland I asked my friend if I could take Pete with me. Unfortunately Pete had a run in with my buddy's cat and I'm horribly allergic to cats so Pete couldn't make the trip.

I decided I'd have to make my own travel buddy.  It was during waffle week when I had the following picture as my Facebook profile pic:


I found the picture on google and have no idea who made it or why, but you have to admit it's pretty awesome. When I asked my Facebook friends what I should make for my travel buddy someone suggested I make the waffle eating vampire bunny.

So I searched for bunny softie patterns and this is what I found on Craft Passion:


A little on the cutesy side, but it worked. The pattern is made from socks. I altered it slightly to get rid of the droopy ears. It ended up taking about three socks because I had to redo a couple things and because I ended up using the toes of the socks and some pink felt for the ears.

At first I wasn't sure how I was gonna do the ears so he looked kind of like a baby seal.


I put a little packet of rice in his bum to keep him from falling over. I was going to use sugar but then I thought I'd have issues going through security at the airport. I didn't want them tearing him apart thinking I was smuggling cocaine.

Here he is with ears:


His waffle is make of felt.

It took awhile to find something to use for the teeth, but eventually I found something in the beading aisle at Ben Franklin that worked:


And here's some pics on the trip:


I also made a travel turtle for my sister. And we picked up a loch ness monster in Scotland and a little lamb in Ireland:


Thursday, August 16, 2012

Lilikoi Waffle Desert

It's waffle week - sort of. Because I will be out of the country for the real waffle week (Sept 2-8, 2012) I've moved it up so I can celebrate before I leave.

For something new this year my mom and I made Lilikoi (passion fruit) syrup. She's growing lilikoi and had a bunch of ripe ones she needed to use. I found this really simple recipe from North West Hawaii Times:

Basic Lilikoi Syrup
6 cups sugar
4 cups water
4 cups lilikoi pulp
Boil sugar and water till syrupy. Add lilikoi pulp and simmer over low fire till seeds are apart. Strain and bottle. A delicious drink with a little lemon added to it or other juices combined with the lilikoi. (This recipe comes from the days before you could buy liliko`i juice everywhere. But it’s still useful because you can pour the syrup over shave iceor ice cream~RdC)
-from Kauai Cookbook, prepared by Kekaha Parent-Teachers’ Association, 1954


I had a bunch left over after my big waffle brunch so I brought it to dinner with my circus waffle maker and some leftover batter (easy stuff from pancake mix). So we had waffles with ice cream and lilikoi syrup. It was awesome.

I think it's our new favorite desert. Yum.


Friday, July 13, 2012

Armor

I am doing some costume consulting for a summer kids drama camp that is putting on the Wizard of Oz. They are doing an anime/steampunk version which I think is pretty exciting.

As part of my consultation I offered to make the costumes for the witches because they were kind of specific and somewhat complicated.

The wicked witch (played by a boy) is not going to look at all like the wicked witch in the movie. He's going to look a lot more like Evil from the movie Time Bandits.

I'm making the dress for Mrs Gulch, which will be tear away for an onstage transformation, and some of the witch costume. I made a red cape and some armor.

Here's the gulch dress:


I don't have a picture of the cape, but there's nothing too unique about it.

For the armor I found this awesome mattress pad at Walmart:


From it I cut out a breastplate and some decorative pieces:


I added some detail with hot glue. Then I spray painted it gold:


I intend to add some red jewels for some added color, but they needed it for rehearsals so I had to hand it over.

For wearability I used strips of elastic sewed on at the shoulders that went through d-rings at the sides. Unfortunately I don't have a picture of that either.

I still have to make a dress for Glinda. She's going to be lavender with bubble decorations.

Hopefully I'll be able to get some final shots of the costumes on the actors.

Friday, June 8, 2012

Wishing Well

I created a Boeing Maui team for Relay for Life. I have never done Relay for Life before, but I am the Maui team captain for Boeing on the Move (a Boeing-wide pedometer/step contest intended to get us all in shape) and I thought it would be a good way to get everyone moving.

I didn't realize what an enormous event Relay for Life is. Yikes. Good thing I've got some very supportive co-workers.

The event theme is "superheroes" and so we've decided that our team would have a Medieval theme and do a "Lords and Ladies of Boeing" thing. It appeals so nicely to my crafty side that it's making the stress of the whole event just melt away.  I'm busy working on making tabbards and henins for the team, and I thought that a great way to raise money at our tent would be to make a wishing well.

A co-worker that's done the event before said that selling things at your tent doesn't really work out, so I thought a wishing well would be perfect. Plus I can set it up at work and collect extra money from my co-workers who aren't participating.

So I went to Walmart and found some things and put together my wishing well.


 I found a lovely planter that looked like a wishing well bucket, so I decided to use it as the base. I bought a couple bags of stones to use at the bottom and some dowels and flowers. I came up with an ingenious (if I do say so myself) way of anchoring the dowels using some hardware left over from my old vertical blinds. I screwed the brackets into the bottom of the planter and used framing wire to secure the dowels (I am a master at using what I already have in my apartment.

You can see Burt (my roomba) and the base of Janine (my dress form) in the picture.


I hand painted the sign.


I added some moss under the stones (I thought it was fake, but it's not).


I ended up adding some Xmas lights (battery powered) and some extra fake foliage.


I'm naming that purple butterfly Alberto.


Some of Alberto's entourage. It's hard to tell but those little purple things are butterflies (the pictures come out a little fuzzy when I'm drunk - or maybe that's just me. But Burt looks great!)

Wednesday, May 30, 2012

Costume Design - Elements of Design

I was cleaning out my trunk of keepsakes when I came across my college "portfolio" from my costume design class and I thought I'd share what I had. I'd love to do more of these, but unfortunately I'm usually to busy making costumes to actually draft costumes up. Plus my pattern-making skills are nil so I wouldn't necessarily be able to make what I'd design. Maybe someday I'll have the time to draft up some ideas for future costumes.

This set (there will be more) is from the start of the class when we were learning about the elements of design: Line, Form, Color, Texture. Unfortunately I seemed to have discarded my 'Line" designs so all I have are Color, Form and Texture. They were all too big for my scanner so I had to take pictures of them which is why the lighting seems odd.

Each week we did a set of designs with a new element. For line (straight or curved) we had to make a design based on a season. I think I did winter for straight and spring for curved. They were just done in pencil which is probably why I didn't keep them. The rest are done in watercolor. I didn't like working with watercolors until I took this class. Now I love them.

For Color we had to do designs based on time of day using complimentary colors, analogous colors (next to each other on the color wheel) and then one color using different tones. I chose to do ballerinas:


Midnight
Evening
Sunrise

For Form (hard or soft) we did designs for a hypothetical "Star Wars: Episode 256" (I'm totally making up the number as I don't remember what the real one was):

Hard
Soft 


For Texture we had to pick a time period and make three designs using three of the many textures available. I chose the 1880's (I think):


Lace
Stripes

Ruffles
I like my Texture designs so much the are framed and hanging on the wall of my sewing room.